Celebrate Chinese New Years with these easy origami chopstick wrappers
It’s the year of the Sheep!
Chinese New Year celebrations have begun and this year marks the year of the Sheep (some refer to it as a Goat or even a Ram, I guees it’s up to your own perception!) According to Chinese astrology, each year (starting from Chinese New Year) is associated with an animal sign, occurring in a 12-year cycle. For example 2015 is a year of the Sheep, so congrats to those of you having babies this year and those of you are already in the Sheep category being born in 1919, 1931, 1943, 1955, 1967, 1979, 1991, 2003, 2015, 2027. Me? I’m a Dragon, which sounds pretty darn cool!
To host your own Chinese New Year celebration, I’m sharing with you instructions on how to make your very own chopstick wrappers made from origami!
The first way is very simple, but requires a bit of glue or tape to secure, and the second way is a little trickier but holds itself together by it’s natural folds. Both are really pretty and fun to make!
Simple Origami Chopstick Wrappers
You need 1 sheet of origami paper 6 x 6 inches, or cut one sided wrapping paper or other thin paper to size.
Fold the sheet of paper in half. Open out and then fold both long edges into the midline and fold, so that the fold lines divide the paper into four columns.

Open out so that the wrong side is facing up. On the top right hand corner, fold the corner over so that it is in line with the right fold line. On the top left hand corner, fold the corner over so that it is in line with the middle fold line. It should look like this:
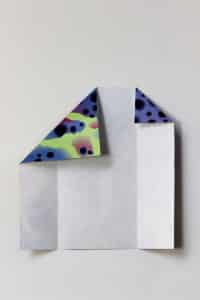
Fold the right side into the midline.

Fold the left side over and secure on back.

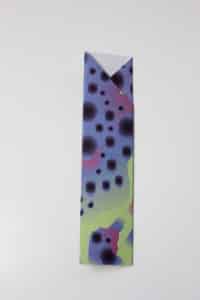
Easy peasy right? Tuck a pair of chopsticks into the wrapper with the pointed side facing down.
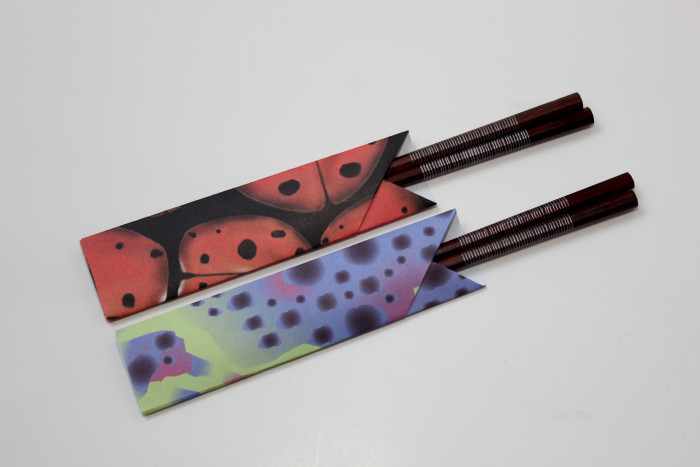
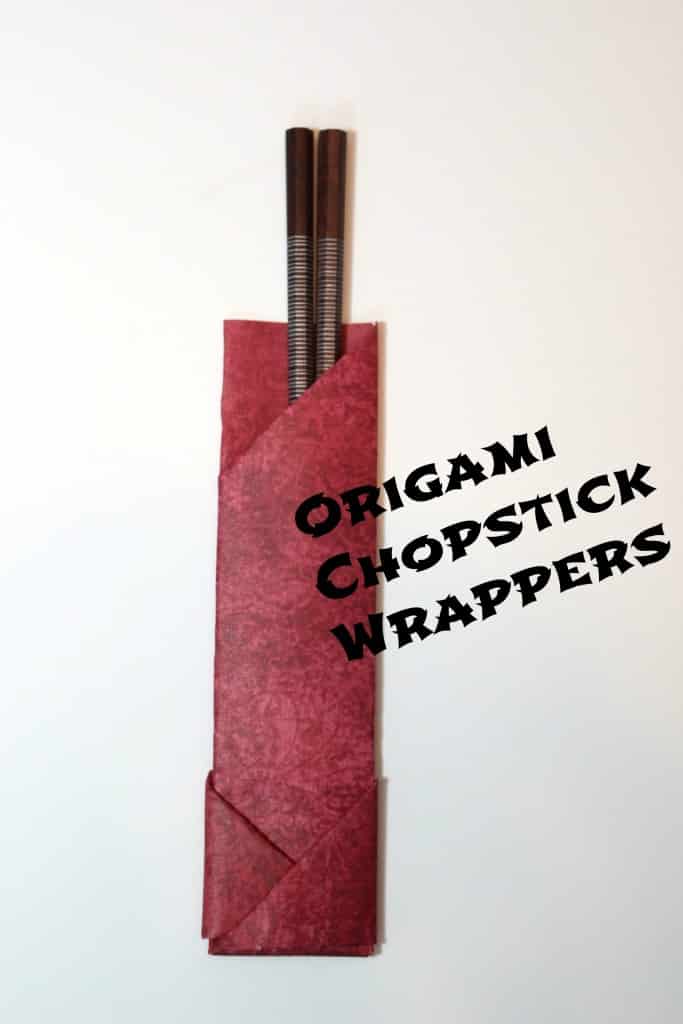
Origami Chopstick Wrappers
Here’s another way:
This time you will need origami paper that is 7 x 12 inches
Fold the paper in half and then each half again into the center. Keeping the printed side down.
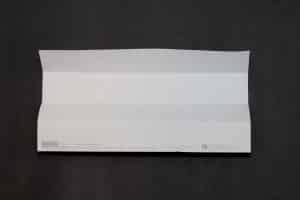
Unfold and turn the upper left corner down to the center crease.
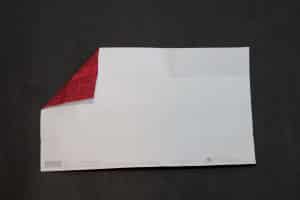
Fold the bottom up into the center and continue until the object is the width of one fold.
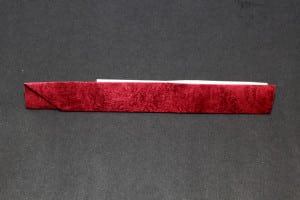
Turn over the end, marking the crease when the turned end is level with the visible edge of the turned corner
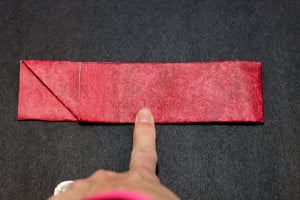
Fold back the end, turning it at right angles so the tail goes straight up and the crease makes and angle fold. Refer to the photo here, this is the trickiest move.

Lift the paper and wrap the tail once around the bottom of the wrapper.
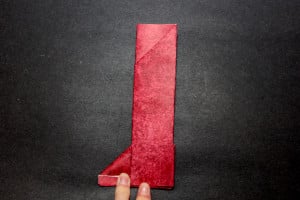
Fold the end of the tail into a triangle before turning the end over and tucking it in place.
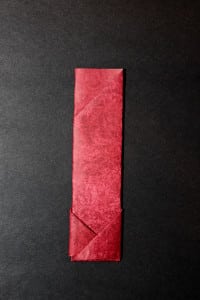
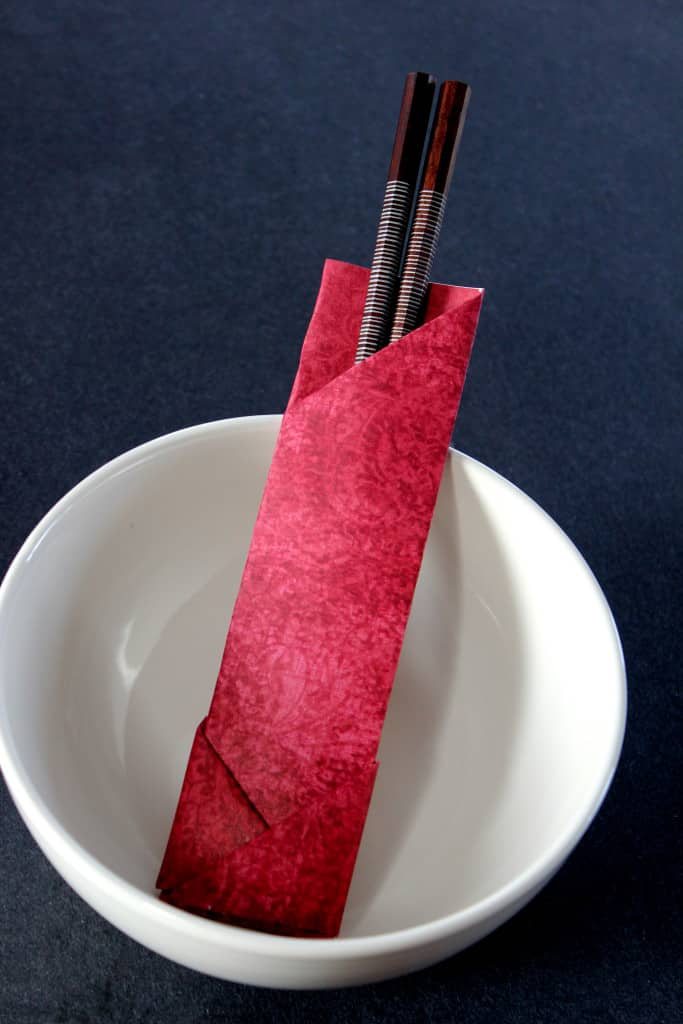
Both ways are very easy with a little practice and will add some fun flair to your Chinese New Year meal this year!
Gong Xi Fa Cai
You might like to try these Asian inspired recipes




thats actually a good thing to try even bigger for picnics too.
oh great idea! it would definitely keep your utensils clean
I really like the looks of this
I often wondered how this was done!
Thanks for this tutorial! What a fun way to make dinner a little extra special (maybe this will get my picky toddler to eat 😉 ).
I think I first have to learn how to use chopstix before I learn to make origami holders. This is a great idea for just about any little item to put in them..
lol they are tricky aren’t they?
These are really cute and could keep the kids busy while things are being prepared! bookmarked for our next asian inspired meal!
Those are totally cute. It will keep my daughter busy while I prepare dinner
Okay – this is just brilliant. I have a stack of origami sheets and I had no idea what to do with them! This is a great idea! Thank you!
happy folding!
What a fun and unique idea — my son would love to do these together.
Nice idea to fancy up the table. My daughter in law is part Japanese and I’ll have to pass this idea on to her, thanks
So neat! Thanks for sharing this craft!
These are really cute and I didn’t realize how simple it would be to make these! I’ve often looked at what my chopsticks were wrapped in and couldn’t figure out how its done! Thanks!
I really like the paper used for the origami, it’s gorgeous 🙂
My 12-year old is always trying to find new crafts that aren’t “babyish” to her. This origami craft is really cool & more mature for her age, something she would be proud to give as gifts. It looks so sophisticated!
Thanks for the patterm,my grandson loves origami crafts
oh very cool pinned!!
what a fun little craft to do with the grandkids
What fun! We’ll have to try them!
My family would enjoy making them.
I would like and try to make this
This would be great for parties!!!!!!!
Just what I needed, I’m the bridesmaids in a Japanese wedding. We’re going to fold these for all the guest.
Great idea!