These Dyed Easter Eggs are relatively mess free and fun for all ages but so easy for the little ones to do too!
Can you believe Mom vs the Boys has been running for over 11 years now and not once have I posted on dying Easter eggs! The boys and I have dyed eggs plenty of times in the past but we have usually just used a kit from the store or didn’t snap any blog worthy photos maybe lol
This year I wanted to give these easy peasy rice dyed Easter eggs a try and they turned out super cool and the boys had a lot of fun making them.
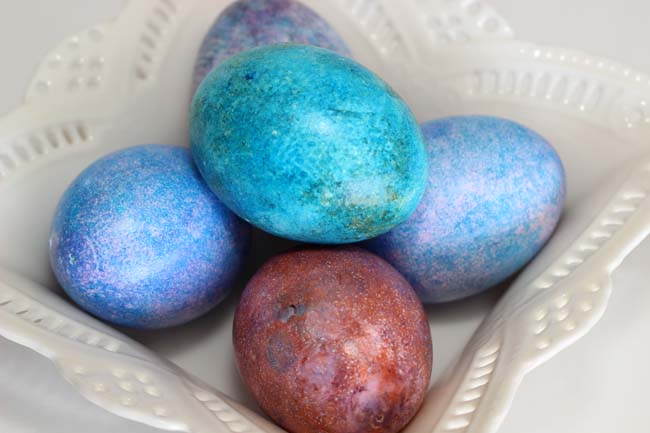
Rice Shake Dyed Easter Eggs
To make these colourful Easter eggs, you’ll need
Food colouring
Ziploc style plastic bags
Eggs – You can use hard boiled eggs, blown out eggs or the artificial craft eggs
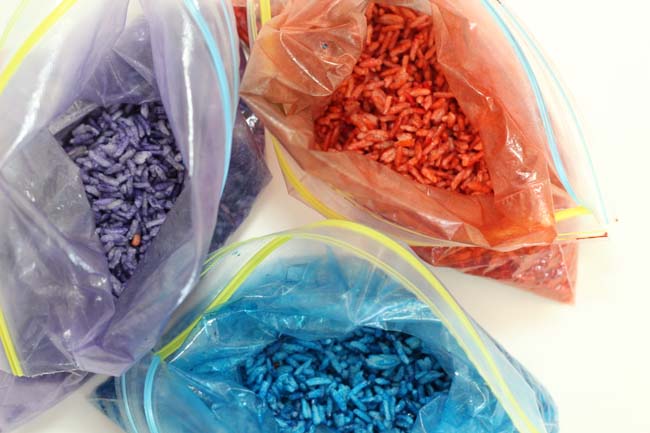
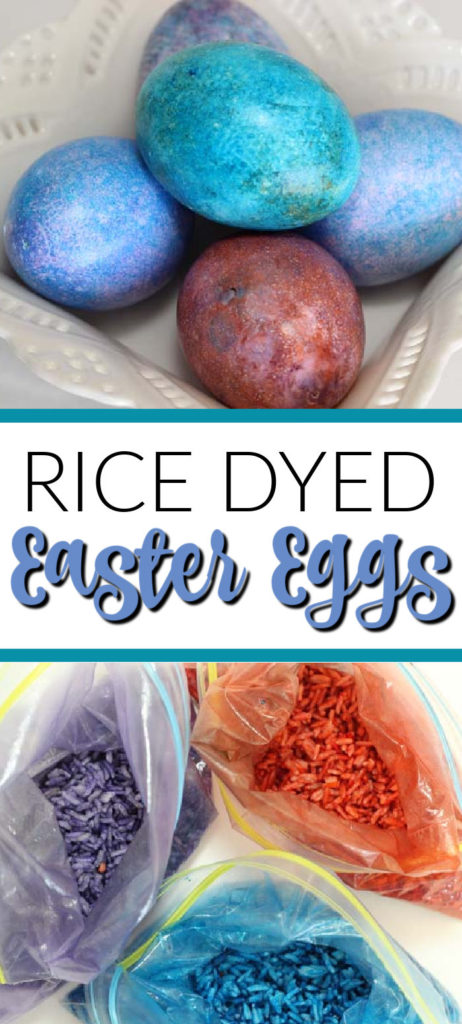
Dyed Easter eggs with rice & food colouring
Traditionally dying Easter eggs is quite messy and this method definitely prevents kids from knocking over cups of dye or dripping it all over your kitchen floor. If you wear gloves or use tongs to remove the eggs from the rice bag, things should stay pretty clean! But don’t worry, it’s still lots of fun!
STEP ONE: Pour about a cup of rice into each ziploc bag. It’s up to you how many different colours you want to use.
STEP TWO: Add drops of food colouring into the rice and stir with a spoon or shake the bag until all the rice is evenly coated. You can use either liquid or gel food colouring but liquid will be easier and less sticky to work with.
STEP THREE: Place an egg into each bag and shake, shake, shake!
STEP FOUR: Remove the egg (wear gloves or use tongs if you like!) and either place it on a paper towel or back in the egg carton to dry. If you want more colour, place it in a new coloured rice bag and shake again!
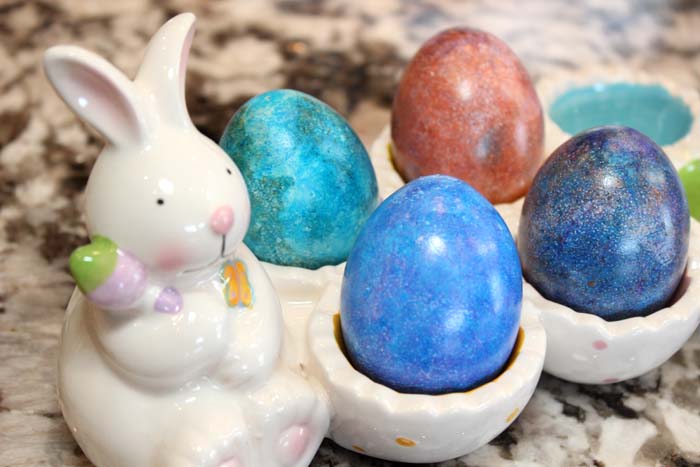
Rice Shaker Dyed Egg Tips
Brightness – The colour of your eggs will depend on the brand and how much of the food colouring you use.
Stretch The Budget – This is an affordable Easter activity to do with kids, but you can stretch it even further by changing the colour of the rice as you go along instead of making many different bags of coloured rice. For example you can build colours if you start with a light one first. Start off by dying rice yellow and after a few eggs, you can change it to orange and then red. This will save on using up too much rice and you can do it with lots of colours. Yellow, green then blue works great too! You’ll also have more variety in your eggs! Our red rice started off a yellow orange colour which made our teal coloured egg when the blue rice was layered on top!
Reuse The Rice – When you’re done with your egg dying. Spread the dyed rice out onto some old newspaper and let dry. Use it in your sensory bin or large tub for the kids to play in.
Sing and Dance- Turn on the tunes and have a fun little party while you shake, shake, shake your eggs!
Blow it Out – You will need to be a bit more gentle with blown out eggs but it’s what we used and we never broke one! To blow out an egg, push a pin into one end, flip and do the same to the other. Use a wooden skewer to make the hole a little large and push in to break the yolk. Then hold the egg over a bowl and gently blow the inside of the egg out. Let the egg drain in the egg carton or on paper towels before dying so it doesn’t leak out onto your pretty creations.
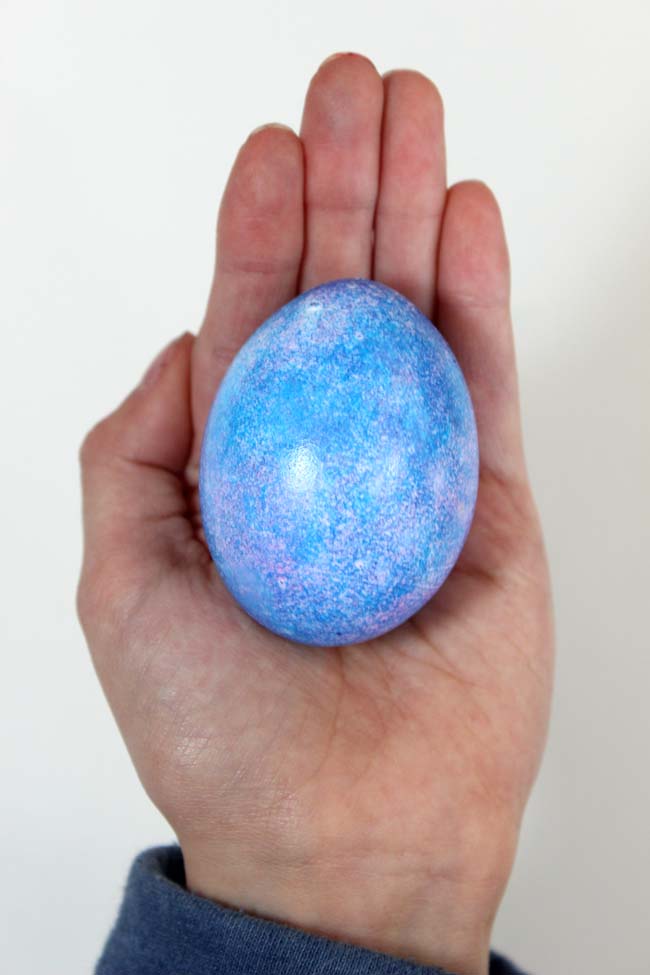
Aren’t they pretty! I love how speckled and colourful they are, each egg comes out different and unique!
Looking for more ways to make Easter fun this year? Check our some of our other ideas!
Printable Easter Word Search Puzzle





This is so awesome and the younger kids would have so much fun shaking the bags, love this!!
So easy and fun! Thanks Lynda!