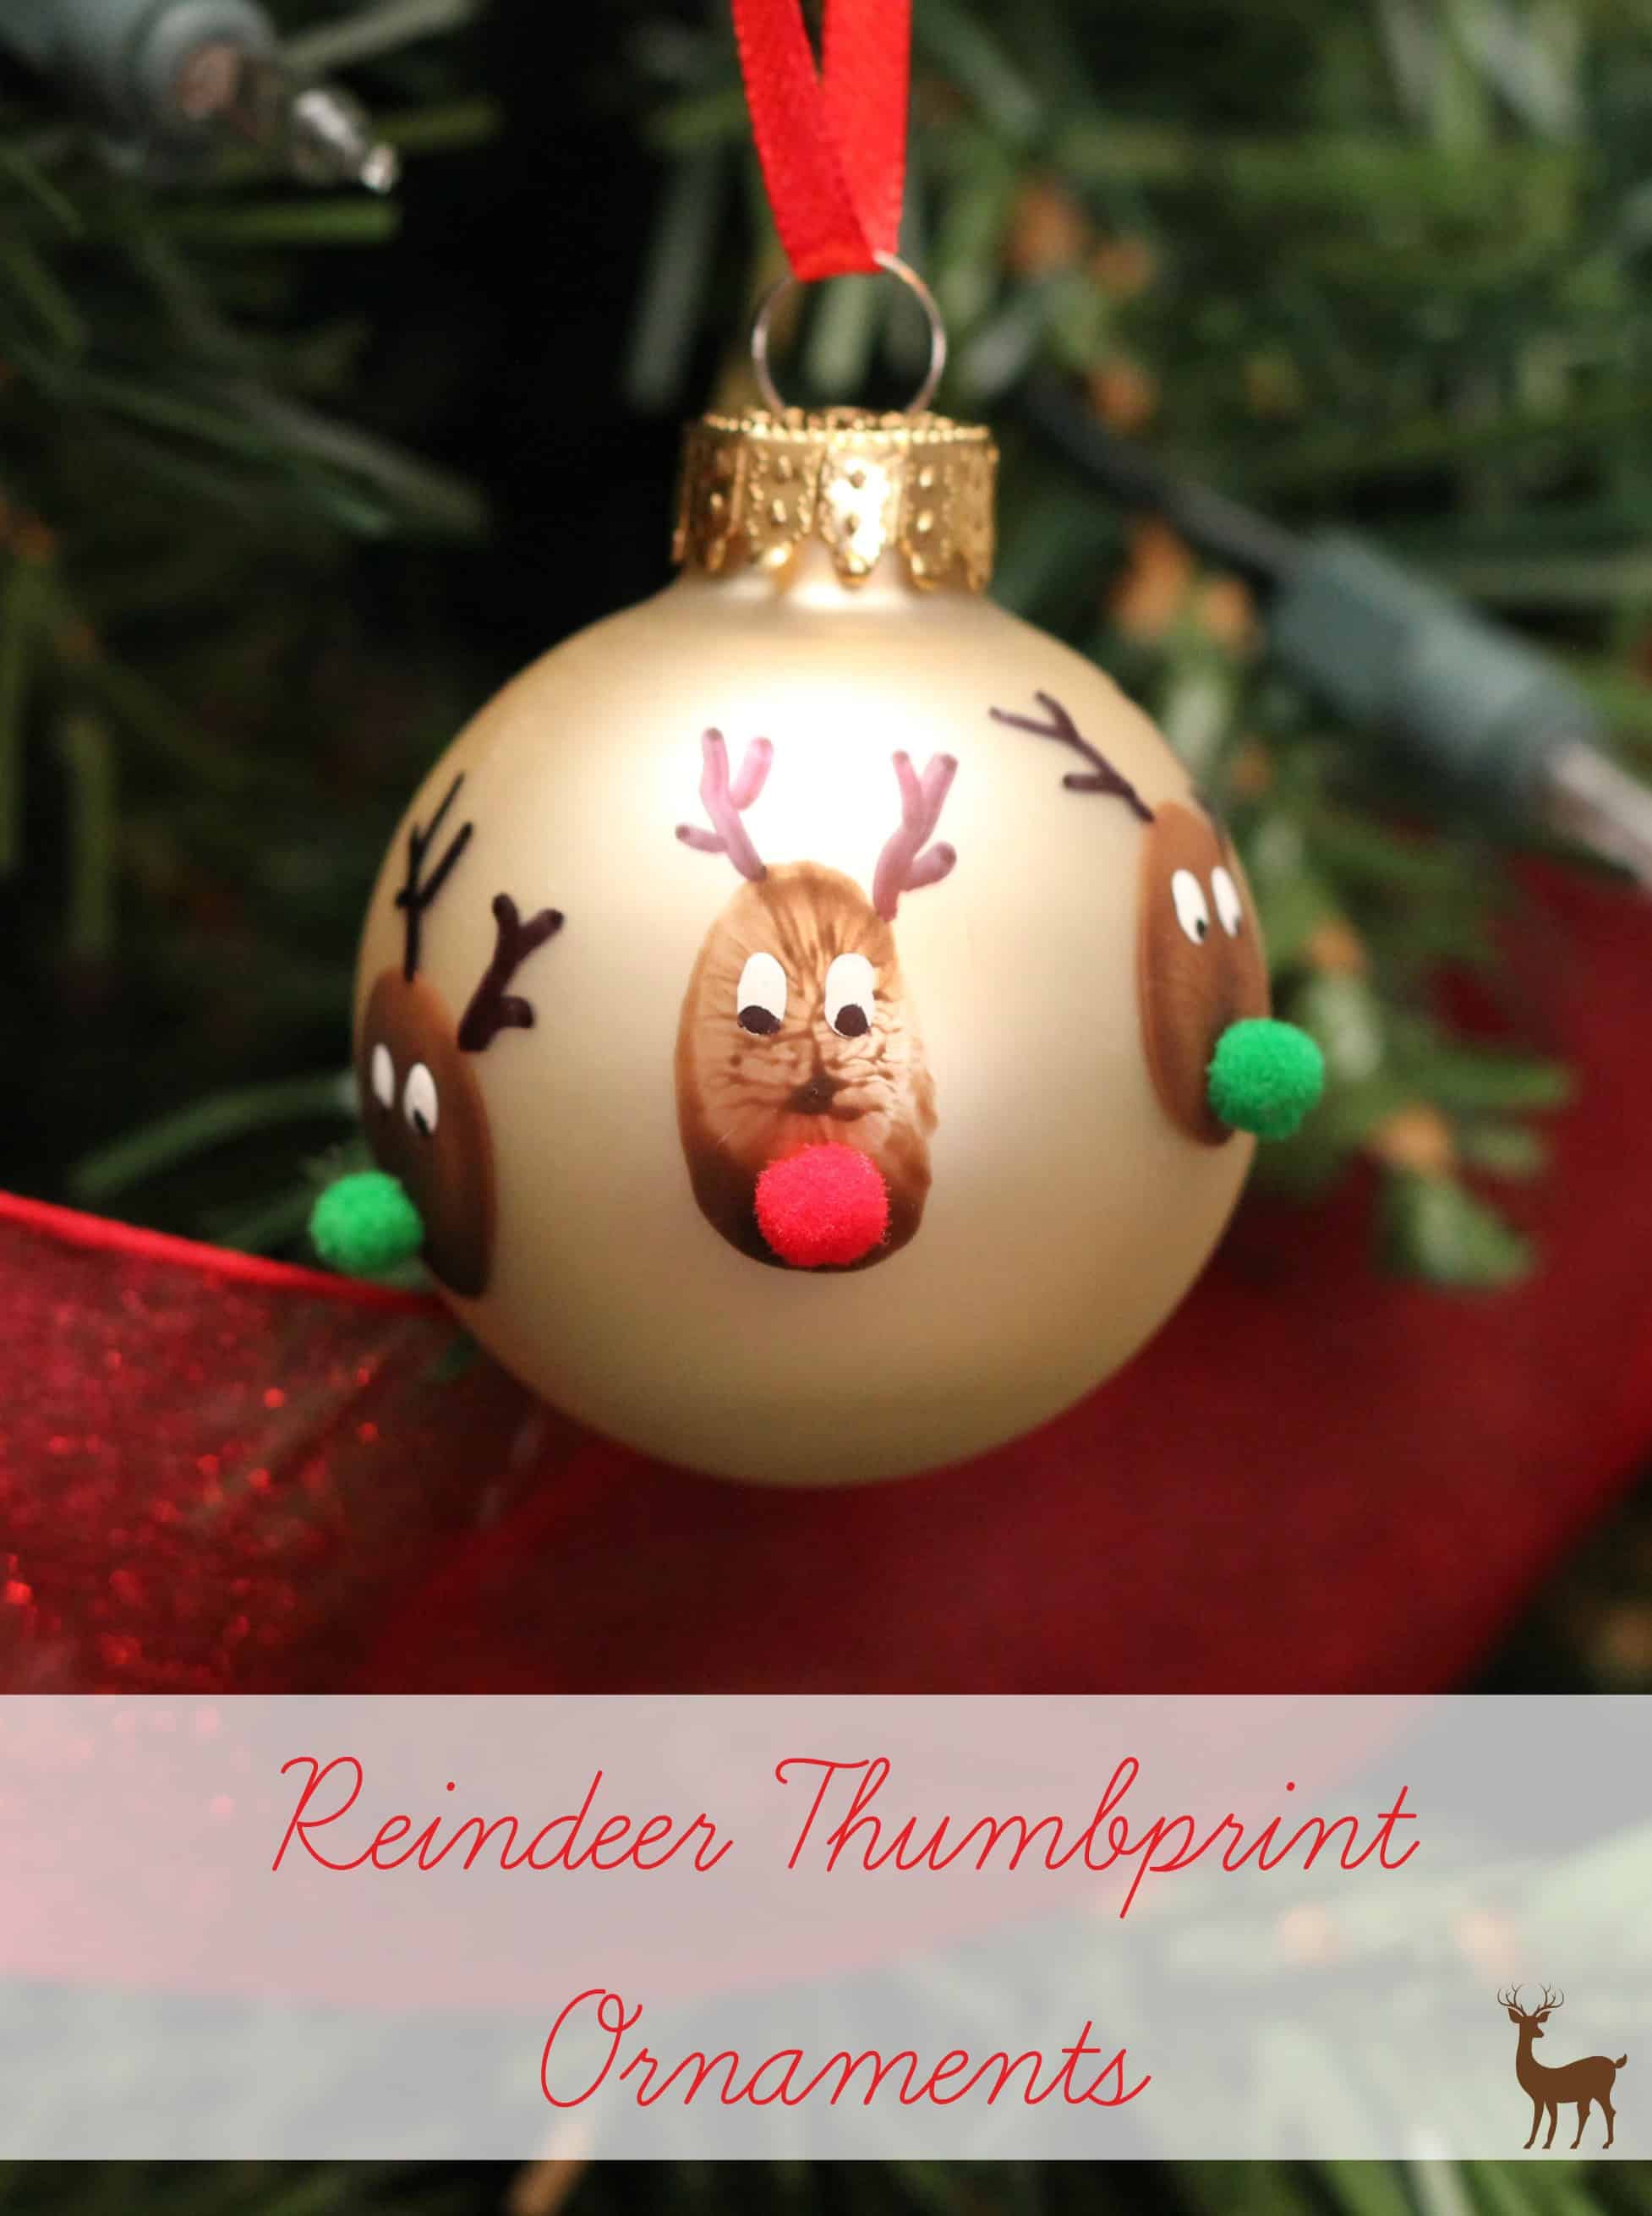
These Reindeer Thumbprint Ornaments make an adorable holiday keepsake or Christmas present to gift. A nice reminder each year of the time when your little one’s thumbs were that little!
A fews years back both sides of our family kind of gave up the ghost on exchanging holiday gifts, not the kids of course, they still get their goodies, but the adults lost interest in the gift exchanging and decided to just let the kids have all the fun instead. Sadly, this meant that the Grandmas and Papa’s don’t get personal gifts, so this year I was on a little crafty mission to create something homemade for just for them.
I found a neat little image on pinterest for these Reindeer Thumbprints done on an ornament, unfortunately, the link was just an image, no instructions, but that actually gave us the freedom to just kind of run with it on our own.
Check out our version of the Reindeer Thumbprint Ornaments below, I think they turned out pretty darn cute! I made a few with all the boys thumbprints for gifts and the boys made one each of just their own for us to keep on our tree at home.
Reindeer Thumbprint Ornaments
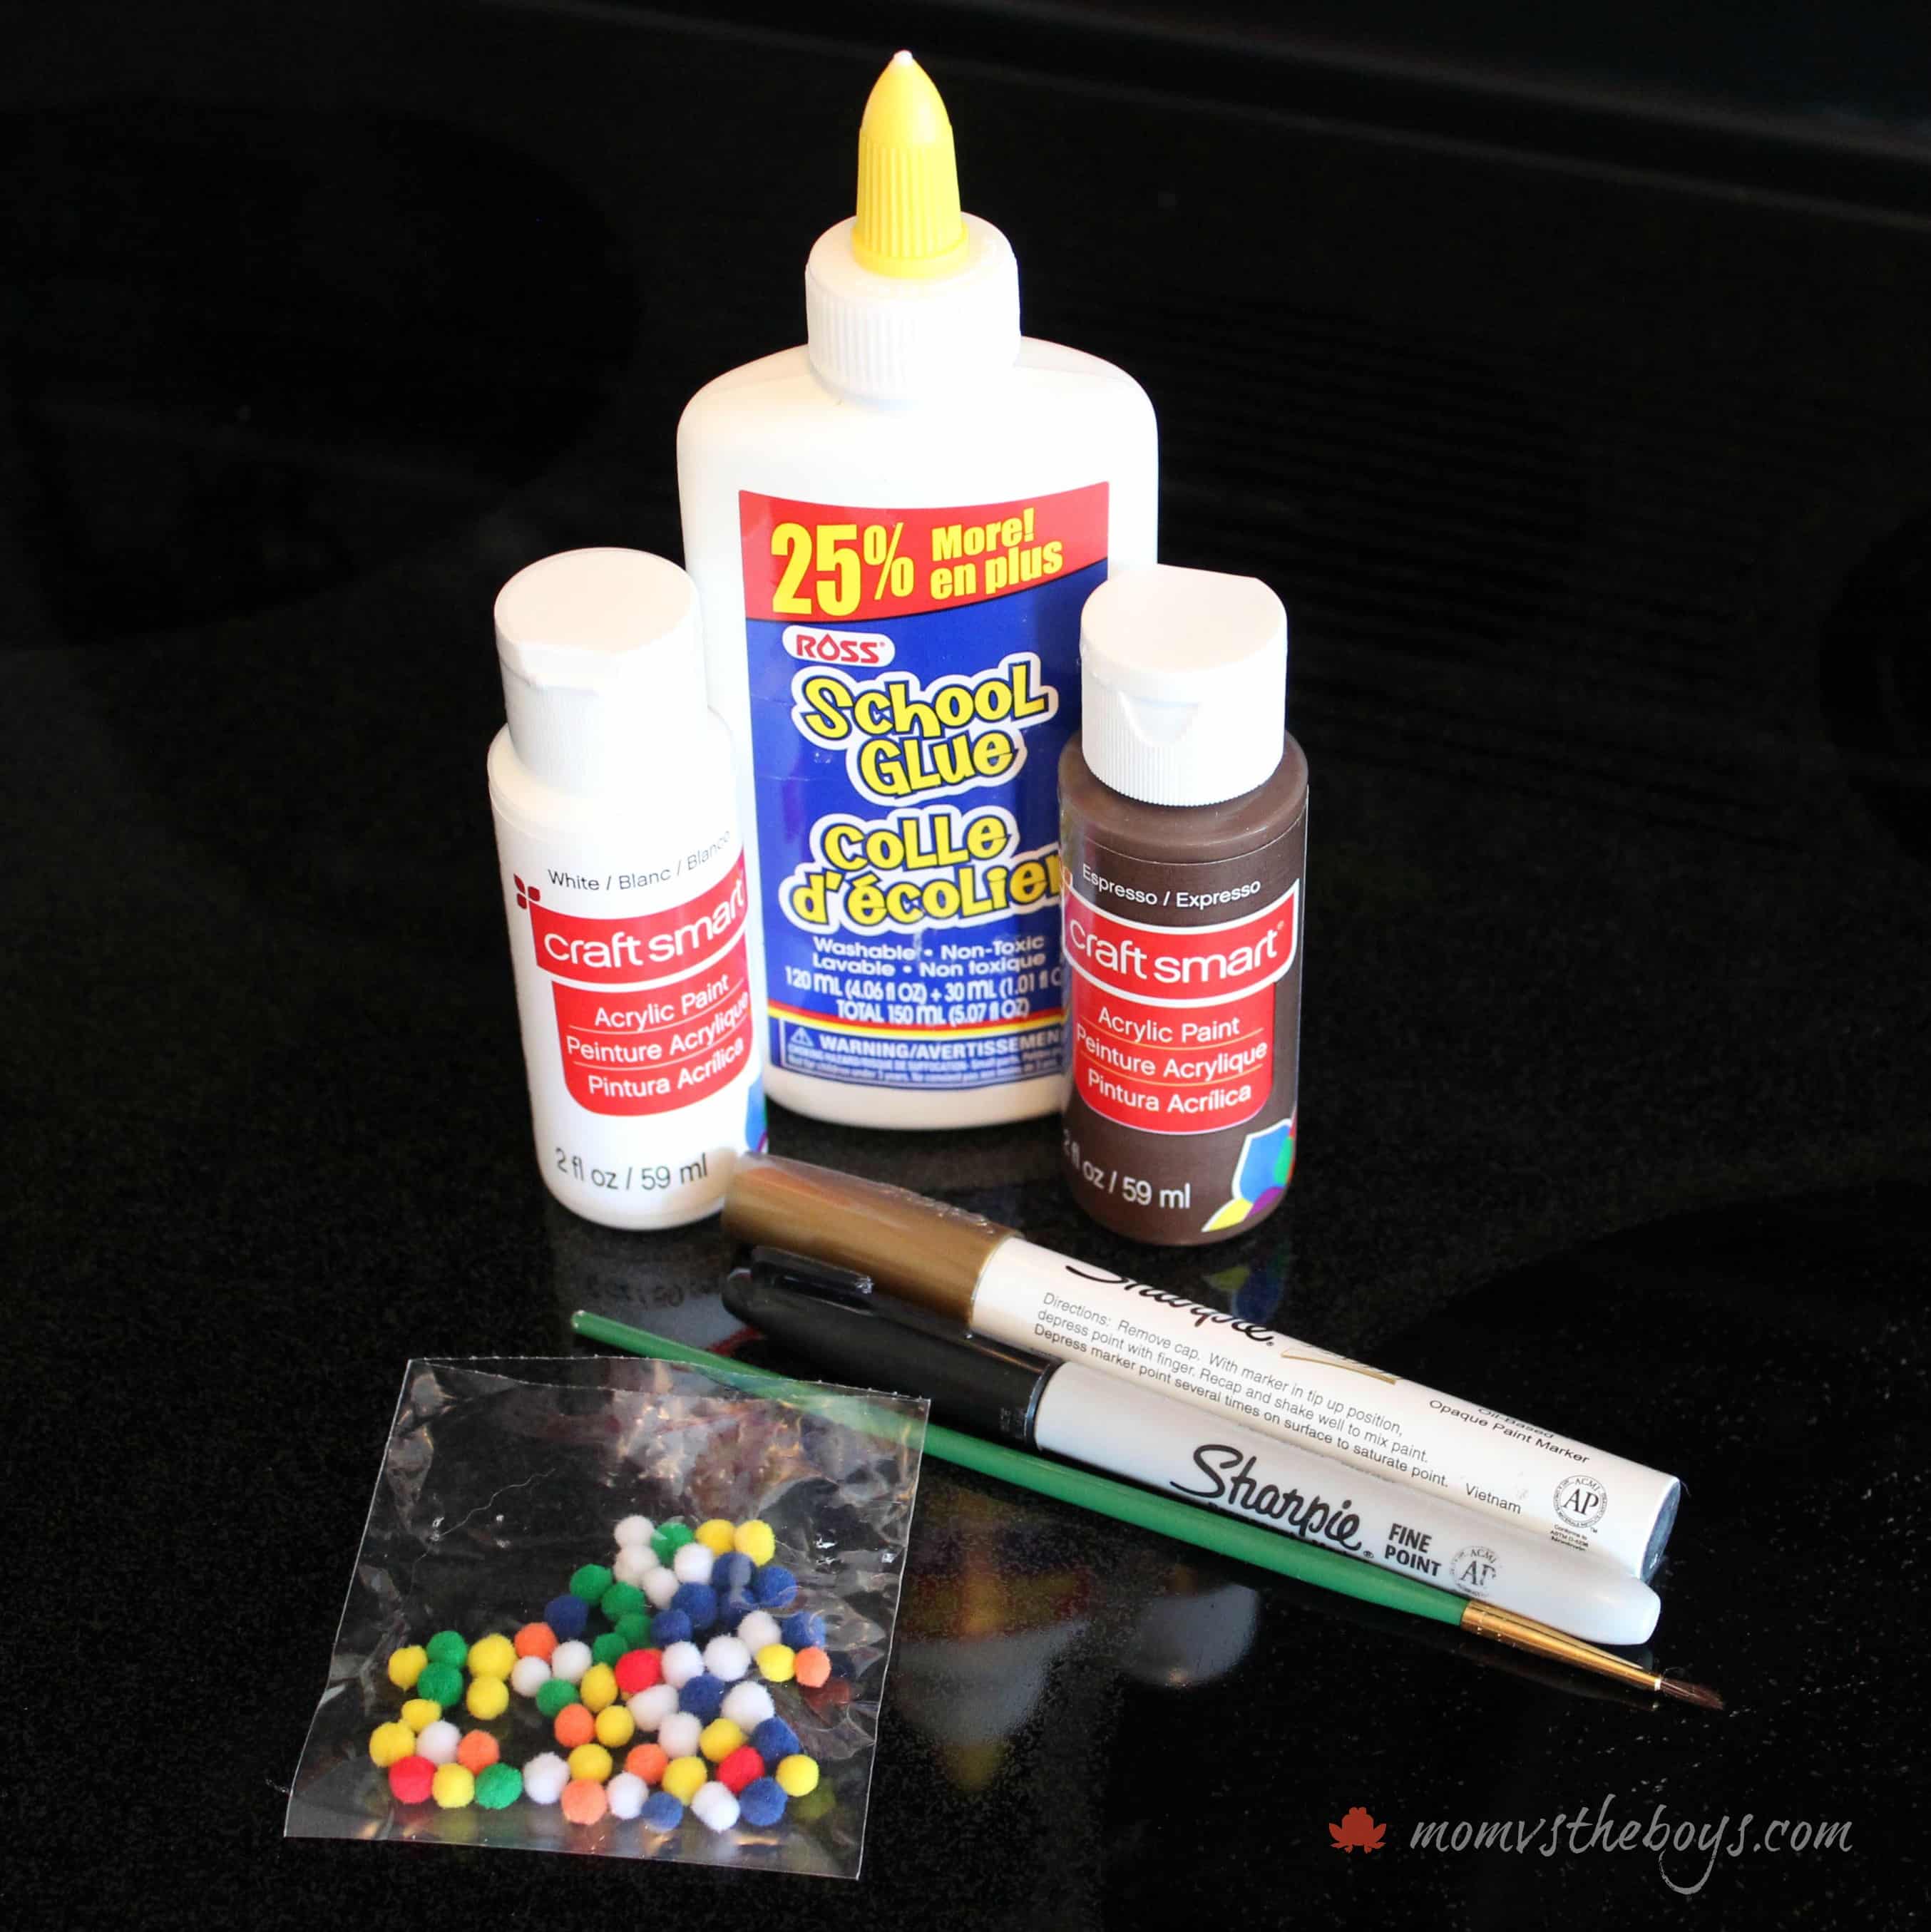
What You’ll Need:
Plain ornaments in any size or shade. I found these small, cream coloured ones at Michaels for 75% off the week before Christmas (score!)
Craft Glue
Small pompoms
Brown acrylic paint
White acrylic paint
Black Sharpie marker
Gold Sharpie marker
Thin paint brush
Ribbon, yarn, string etc. to hang
Putting it all Together
Either paint your child’s thumb with the brown paint or pour a small amount onto a paper plate and have your child dip their thumb in to cover the flat surface of the thumb. Press onto the ornament and let dry. If it smudges, the balls are pretty forgiving and you can easily wipe the paint off with a wet paper towel and start again.
When the paint is dry you can add in all the details. I used white acrylic paint for the eyes, you can try your hand with the brush side of the paint brush if you have a sturdy hand, but I find it much, much easier to use the point at the other end of the brush for this. Dip the end of the brush (not the bristles) into the paint and create a small circle for each eye, you can move the brush tip in an oval fashion to create larger eyes, until you have the shape you want.
Use a small dab of craft glue on each tiny pom pom and secure to the bottom of the thumbprint for the reindeers nose. We used a red one for rudolph and the others were green because it seemed festive and our package didn’t come with any black.
At this point I would just let everything dry. It’s really best to do this one in stages.
Once the eyes are dry, you can either use the same technique as before, using the blunt end of the paint brush, to dab on some black pupils or take the easy route like I did and use the black sharpie. Then move on to the antlers and free hand a pair onto each reindeer.

Flip the ornament around and use the gold Sharpie, to write the year onto the back. For the ornaments where we just used one thumbprint, I included the child’s name as well.
Your gorgeous personalized ornament is now complete and just needs some ribbon, string or yarn to tie on so you can hang it on the tree!

The reindeer thumbprint ornaments were a big hit with the grandparents and were really fun for us to put together over our days off before Christmas. The boys were super proud to hang their own ornament on our tree and it warms my heart to see their little thumbprints on there. Someday I’ll forget just how small their little fingers were. sniff!
For other DIY ornament ideas, check out these below
-
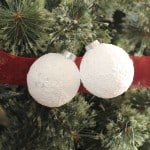
- Snowball Ornaments
-

- Lightbulb Ornaments
-

- beach ornament


Awhhh…these are so cute and yes those little fingers do grow very, very quickly. (sniff)
These are adorable!!! Love it!! I’m going to try this next Christmas 🙂
they turned out even cuter than I thought they would!
great idea, good gift for mommy and daddy . think next year I’ll get my nieces to make one for their parents
that’s a great idea! It would make a nice day care craft to give to the parents!
these are super cute; going to pin this for next year
awesome! they are fun to make!
Awww 🙂 Very cute
thanks hon!
What a fantastic idea, Jennifer! They would make sure cute keepsakes. Thanks for sharing with us 🙂
This is a great craft. I may even be able to do this today (kids are home because of the freezing rain) and sneak it into the ornament box that has not found its way to the basement yet. 😉
Thanks for sharing!
I have a ton of decorations to still put away too!
Those are so darn cute and easy to make! I love making ornaments. I made personalized name ornaments for my parents tree. I gotta try these!
I know some Grandparents who would LOVE LOVE LOVE these ornaments.
Going to pass this on to my daughter; would love it if my granddaughter made one of these for me!
my parents love theirs!
I’m going to do this craft at my son’s Christmas party tomorrow! Can’t wait to see how they turn out! Thanks!
I bet they turned out great!
I picked up a whole bunch marked down last winter i can’t wait to start.
great idea!
I did this a few years ago an paint has been coming off. How do you keep yours from peeling?
Were your ornaments shiny? Ours were not, so maybe that has something to do with it. They still look great years later.
I’m going to do this with my granddaughter this year for her parents.
Hi there! I LOVE your blog and everything you share! I hope you don’t mind but I shared your reindeer thumbprint ornament on a post I did of a little collection of Reindeer ornaments kids can make ( http://www.easyfreesantaletter.com/blog/reindeer-ornaments-kids-can-make/ ). I hope you like it!
If you are ever interested in doing a guest post please let me know…I would love that!
Warmly,
Cheryl
These are adorable. I think I’d worry about it coming off too. I guess you could always use watered down gluing paste (like you use on jigsaws) that should protect them and it dries see through too.
the paint will not come off. We used acrylic paint and they look as good this year as the year we made them.
Oh my goodness these ornaments are a super cute craft, love them, thx!!!
These are so cute and look pretty easy to make.